
How To Set Up Apple Pay on iPhone for Seniors
Many seniors are curious about Apple Pay but are not sure how to get started. The good news is that setting up Apple Pay on an iPhone is actually very simple once you know where to look.
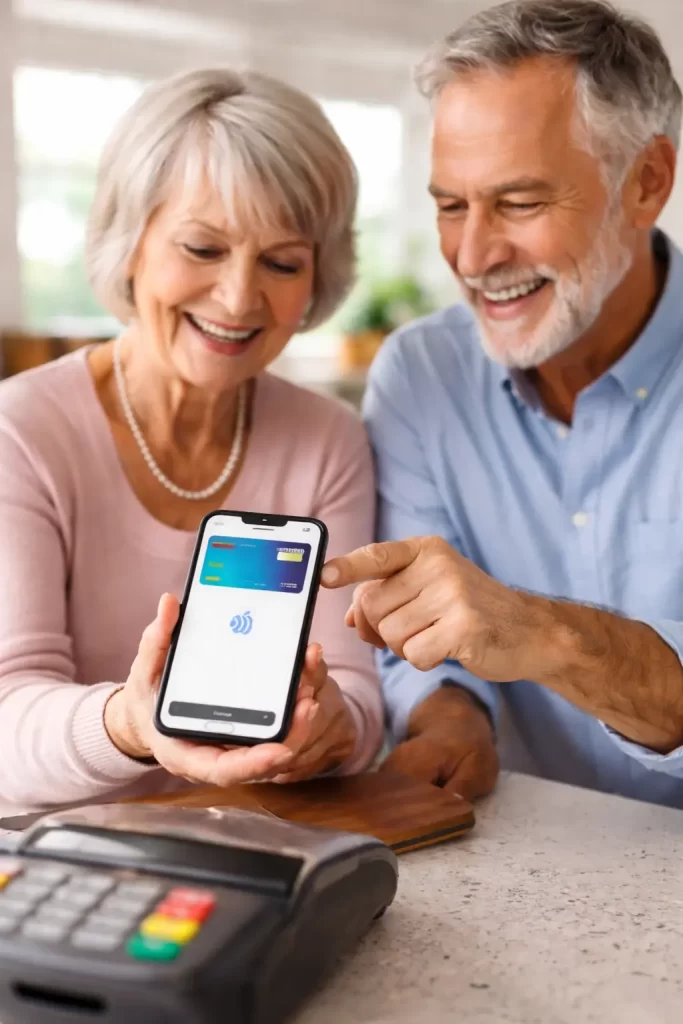
Apple Pay allows you to pay in stores, online, and inside apps using your iPhone or Apple Watch. Instead of pulling out a physical credit card, you simply hold your phone near the payment terminal and confirm the payment using Face ID or Touch ID.
If you are wondering whether Apple Pay is safe, you may want to read Is Apple Pay Safe for Seniors? which explains the security protections built into the system.
What You Need Before Setting Up Apple Pay
Before you begin, make sure you have a few things ready.
- An iPhone: Apple Pay works on most modern iPhones.
- A credit or debit card: Most major banks support Apple Pay.
- A passcode on your iPhone: Apple Pay requires a passcode for security.
- Face ID or Touch ID enabled: This confirms your identity before payments.
If your phone is not set up for easy use yet, this guide may also help: how to set up a senior-friendly smartphone.
Step 1: Open the Wallet App
On your iPhone home screen, look for the Wallet app. It usually shows a small stack of credit cards.
Tap the Wallet app to open it.
Step 2: Tap the Plus Sign
In the upper right corner of the screen, you will see a plus (+) button.
Tap this button to add a new card.
Step 3: Add Your Credit or Debit Card
Your iPhone will give you two options.
- Scan the card with the camera
- Enter the card information manually
Most people simply hold their card in front of the camera and let the phone scan it automatically.
Step 4: Verify With Your Bank
Your bank will now confirm that the card belongs to you.
This usually happens by:
- Sending a text message code
- Sending an email verification
- Using your bank’s mobile app
Once verified, the card will appear inside your Wallet app.
Step 5: Make Your First Apple Pay Purchase
Using Apple Pay in a store is very simple.
- Double-click the side button on your iPhone
- Confirm with Face ID or Touch ID
- Hold your phone near the payment reader
Within seconds, the payment is complete.
Where Apple Pay Works
Most grocery stores, pharmacies, restaurants, and retail stores now accept Apple Pay.
Look for the contactless payment symbol at the register.
You can also use Apple Pay for:
- Online shopping
- App purchases
- Food delivery apps
- Transportation apps
Why Many Seniors Prefer Apple Pay
Once it is set up, many seniors find Apple Pay easier than carrying multiple credit cards.
- No searching through a wallet
- Face ID confirms the payment instantly
- Credit card numbers are never shared with stores
- Transactions are easy to review in the Wallet app
If you are concerned about fraud or identity theft, Apple Pay can actually be safer than using a physical card.
Common Apple Pay Problems Seniors Run Into
The most common issue is simply getting everything set up the first time.
Sometimes the bank verification step causes confusion, or the phone security settings are not enabled yet.
This is similar to other technology frustrations seniors run into, which I talk about in common technology frustrations seniors experience.
Need Help Setting Up Apple Pay?
If you live in Manatee County or Sarasota County and would like help setting up Apple Pay safely, I provide patient in-home tech help for seniors.
I can help you set up Apple Pay, review security settings, and make sure your phone is configured correctly.
You can learn more about my services here: in-home tech support for seniors.
If you are ready to schedule a visit, you can reach me here: contact Tech Assist For Seniors.